
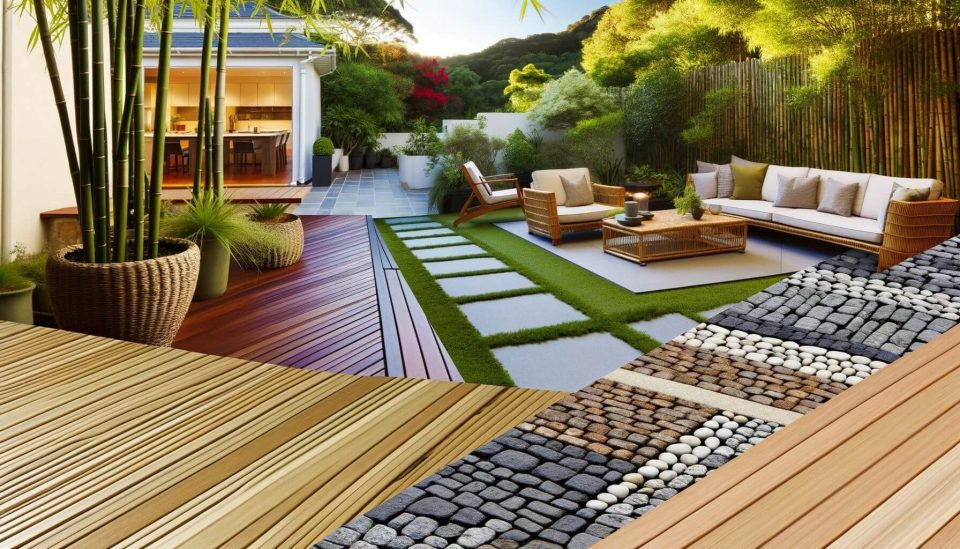
Outdoor spaces, such as decks, patios, and driveways, endure constant exposure to weather elements like rain, sunlight, and fluctuating temperatures. Without proper waterproofing, these surfaces can deteriorate over time, leading to costly repairs. By applying DIY waterproofing techniques, you can protect these spaces, extend their lifespan, and maintain their aesthetic appeal. This guide provides a comprehensive look at DIY waterproofing tips to help you safeguard your outdoor spaces effectively.
Understanding Outdoor Waterproofing
What is Outdoor Waterproofing?
Outdoor waterproofing involves applying protective measures to surfaces to prevent water infiltration and damage. It encompasses sealing, drainage management, and protective coatings to shield outdoor areas from moisture and weather-related wear.
Why Waterproofing is Essential for Outdoor Spaces
- Prevents Water Damage: Protects surfaces from erosion and structural weakening.
- Inhibits Mold and Mildew Growth: Keeps surfaces clean and safe from harmful microorganisms.
- Enhances Longevity: Ensures your outdoor spaces remain functional and visually appealing for years.
Common Areas Requiring Waterproofing
- Decks and Patios: High exposure to water makes these spaces vulnerable to damage.
- Roofs and Terraces: Flat surfaces can accumulate water without proper drainage.
- Outdoor Furniture: Materials like wood and fabric need sealing for durability.
- Walkways and Driveways: Cracks in these areas can worsen without waterproofing measures.
- Garden and Retaining Walls: Protecting these structures prevents erosion and cracking.
Preparing for DIY Waterproofing
Assessing the Area
Before starting, inspect the area to determine its waterproofing needs:
- Identify water-prone zones.
- Look for cracks, leaks, or signs of damage.
- Evaluate the materials—wood, concrete, or stone—to select the appropriate waterproofing products.
Gathering Materials and Tools
For DIY waterproofing, you’ll need:
- Waterproofing Products: Sealants, coatings, and membranes.
- Tools: Brushes, rollers, sprayers, and trowels.
- Safety Gear: Gloves, masks, and goggles to protect against chemicals.
Understanding Weather Conditions
Ensure you plan your waterproofing project during dry weather with moderate temperatures for optimal results. Avoid rainy or excessively humid days.
DIY Waterproofing Tips for Different Outdoor Spaces

Decks and Patios
- Wood Decks:
- Clean the surface with a wood cleaner.
- Sand the wood to remove old coatings and rough patches.
- Apply a waterproof stain or sealant using a brush or roller.
- Concrete Patios:
- Fill cracks with a concrete filler.
- Apply a concrete waterproofing coating evenly across the surface.
- Tile Patios:
- Use a grout sealer to protect joints.
- Apply a waterproof membrane under tiles for enhanced protection.
Outdoor Walls
- Clean the walls to remove dirt and debris.
- Repair cracks and fill gaps with masonry filler.
- Apply masonry waterproofing paint or a waterproofing coating.
- Install drainage systems to direct water away from the base.
Roofs and Terraces
- Remove debris and check for cracks or weak spots.
- Apply a liquid waterproof membrane or bitumen sheets.
- Seal edges and joints to ensure a watertight finish.
Outdoor Furniture
- Use a waterproof wood sealant for wooden furniture.
- Protect metal furniture with rust-resistant paint.
- Cover fabric cushions with waterproof sprays or use weather-resistant covers.
Walkways and Driveways
- Clean the surface and fill gaps or cracks with fillers.
- Seal the surface with a concrete or asphalt sealant.
- Enhance drainage by ensuring the surface slopes away from structures.
Step-by-Step DIY Waterproofing Process
Step 1: Cleaning the Area
- Remove dirt, debris, and mildew from the surface.
- Use a power washer for large areas to ensure a thorough clean.
- Allow the surface to dry completely before proceeding.
Step 2: Repairing Damage
- Fill cracks and holes with the appropriate filler for the material.
- Smooth uneven areas to create a uniform surface.
Step 3: Applying Waterproofing Solutions
- Choose the right product for your surface (e.g., sealants for wood, coatings for concrete).
- Apply the product evenly using a brush, roller, or sprayer.
- For best results, apply multiple coats as recommended by the manufacturer.
Step 4: Drying and Curing
- Allow each coat to dry completely before applying the next.
- Follow the product’s curing instructions to ensure maximum effectiveness.
Step 5: Testing the Waterproofing
- Spray water on the surface to check for leaks or absorption.
- Reapply the waterproofing solution if needed in specific areas.
Preventative Measures and Maintenance
Regular Inspections
- Check for new cracks, damage, or signs of wear regularly.
- Address issues promptly to prevent further deterioration.
Cleaning and Care
- Remove debris and standing water immediately.
- Use mild cleaners to maintain surfaces and avoid harsh chemicals that can degrade waterproofing.
Reapplying Waterproofing
- Reapply waterproof coatings as recommended for your specific materials and exposure levels.
- Signs such as fading or peeling indicate the need for reinforcement.
Improving Drainage
- Install or maintain French drains, gutters, and downspouts to redirect water.
- Ensure the grading around outdoor areas slopes away from structures.
Tips for Specific Weather Conditions
Rainy Climates
- Prioritize drainage solutions like gutters and French drains.
- Use mildew-resistant waterproofing products for added protection.
Sunny Climates
- Apply UV-resistant coatings to prevent sun damage.
- Regularly inspect surfaces for cracking or fading caused by prolonged exposure.
Cold and Frosty Climates
- Use freeze-thaw resistant waterproofing materials to prevent cracking during temperature changes.
- Seal cracks before winter to avoid ice expansion damage.
Costs and Budget Considerations
Estimating DIY Waterproofing Costs
- Materials and products: $50–$200 depending on the size and type of surface.
- Tools and equipment: $20–$100, reusable for future projects.
Saving Money with DIY
- DIY costs are significantly lower than hiring professionals.
- Reusing tools and purchasing multi-purpose products can further reduce expenses.
When to Call a Professional
- Large-scale water damage or severe structural issues.
- Complex surfaces or materials requiring specialized techniques.
Common Mistakes to Avoid
- Skipping surface preparation.
- Applying waterproofing products to damp surfaces.
- Ignoring drainage improvements.
- Overlooking small cracks or damage.
- Using the wrong products for specific surfaces.
Conclusion
Proper waterproofing is essential to protect your outdoor spaces from water damage, extend their lifespan, and maintain their aesthetic appeal. By following these DIY tips, you can save money, improve your home’s functionality, and ensure your outdoor areas remain safe and durable in various weather conditions. Take proactive steps today to preserve your investment and enjoy your outdoor spaces for years to come.